Crestron Home integration
The easiest and most complete way to integrate your KNX devices into the Crestron Home ecosystem.
🎬 Video tutorial
A quick overview of 1Home Server integration into Crestron Home.
Table of contents
Built-in KNX IP interface
1Home Server comes with a built in KNX IP interface, no additional hardware is required.
Overview
KNX devices can be integrated into the Crestron Home app in 3 simple steps:
- Integrate KNX into 1Home Server.
- In Crestron Home Setup tool, configure Crestron driver for 1Home Server.
- Add discovered devices to rooms in Crestron Home. Then use them as you would any other Crestron Home device.
Which device types are automatically imported to Crestron Home?
See the list of supported KNX devices in Crestron Home.
Setup guide
1. Integrate KNX into 1Home Server
Before we connect 1Home Server with Crestron Home, we have to first configure the KNX devices in 1Home Server.
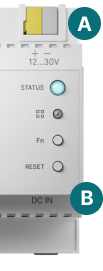
Connecting to power
There are two options to connect your device to power:
- A - Auxiliary power: Use the yellow and gray pin to connect to auxiliary power. Normal usage at 30V is around 70-100 mA, max usage is up to 170 mA. Note that if the power supply can't supply enough power for all connected devices it might cause unexpected behavior.
- B - DC IN power supply: Connect a dedicated 12V, 2.1 mm, 1A (or more), 12W power supply.
Accessing the dashboard
Once the device is powered on and the STATUS LED light is solid green color 🟢 you can access your 1Home Server at 1home.local URL.
If you have troubles accessing the dashboard, read the Troubleshooting guide.
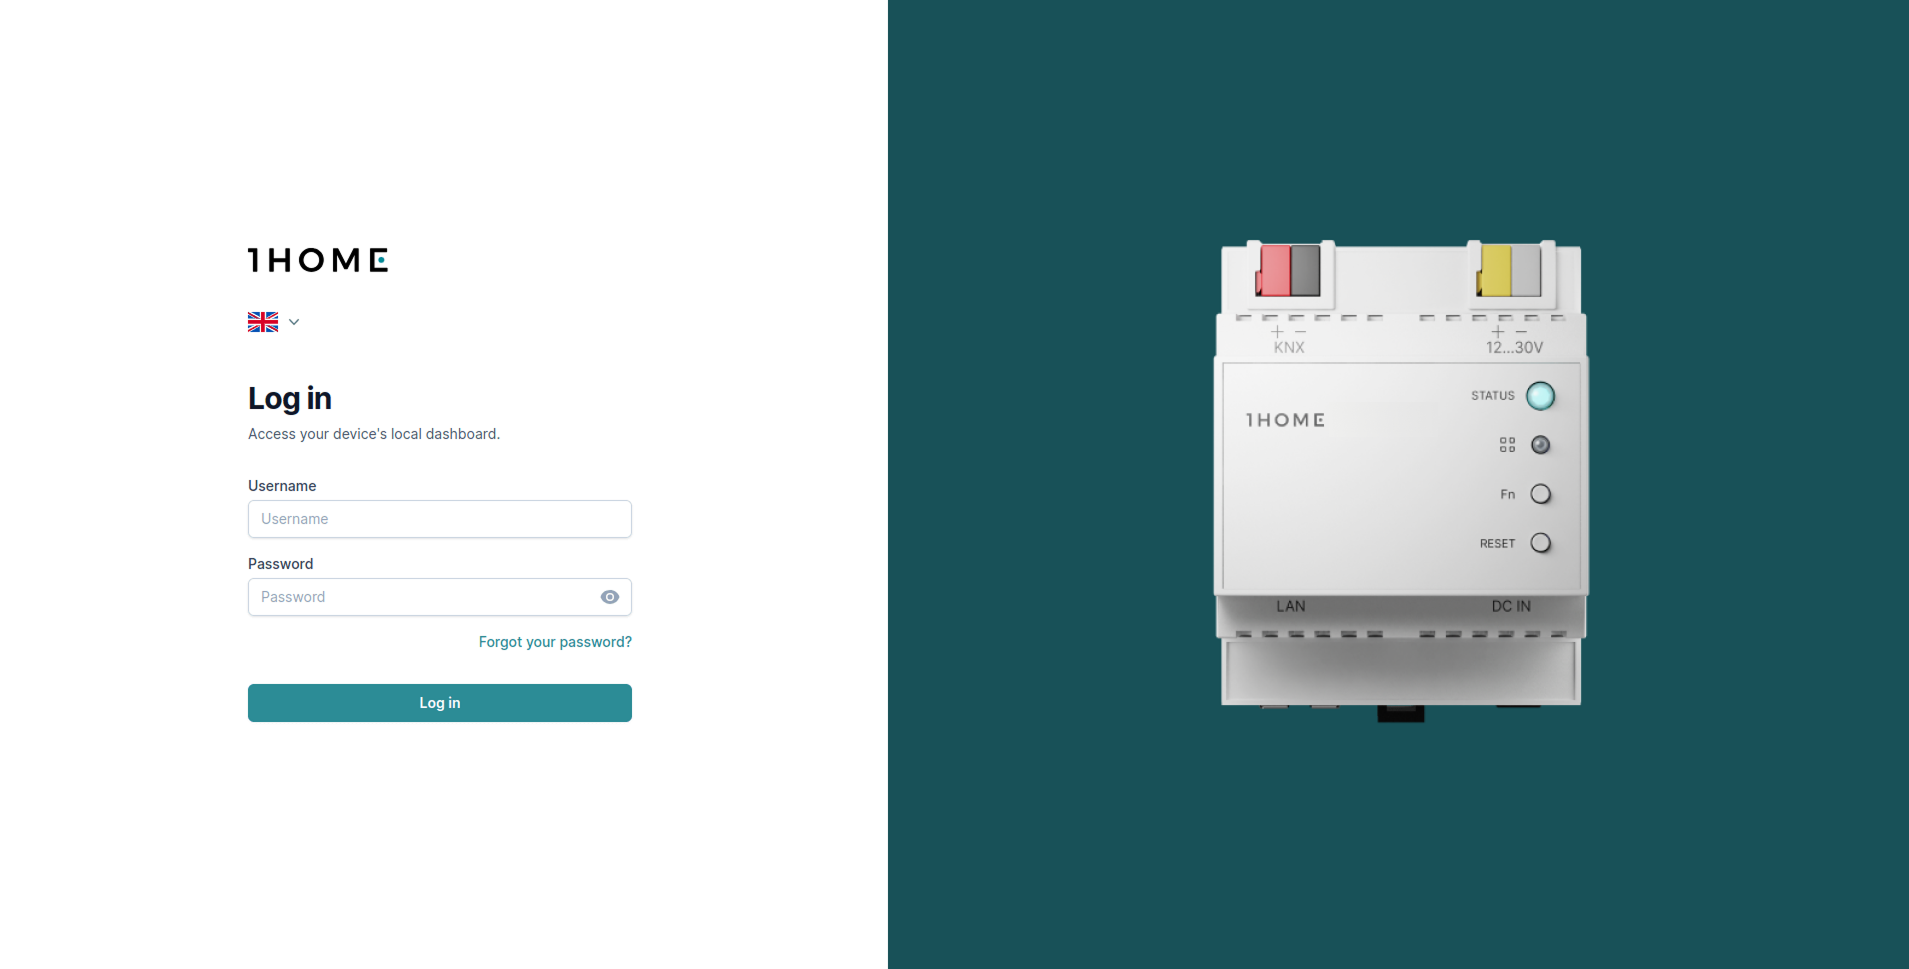
You should be presented with the login screen as shown below.
Default username and password are printed on the label that you received with the device. Consider changing them after you log in.
Connecting to KNX bus
Your device is automatically connected to your KNX bus via the red and black pin.
You can also always add up to 4 additional connections to KNX via KNX IP interfaces. Learn more in the Connect to KNX guide.
You can check the connection status of your device under Integrations -> KNX as shown below. 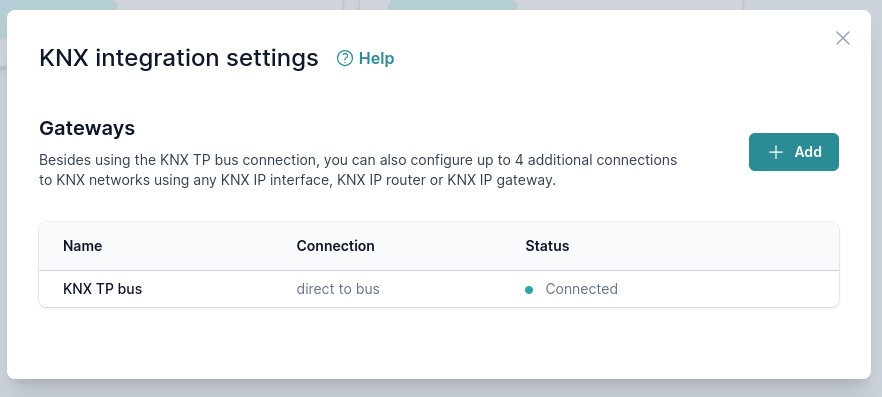
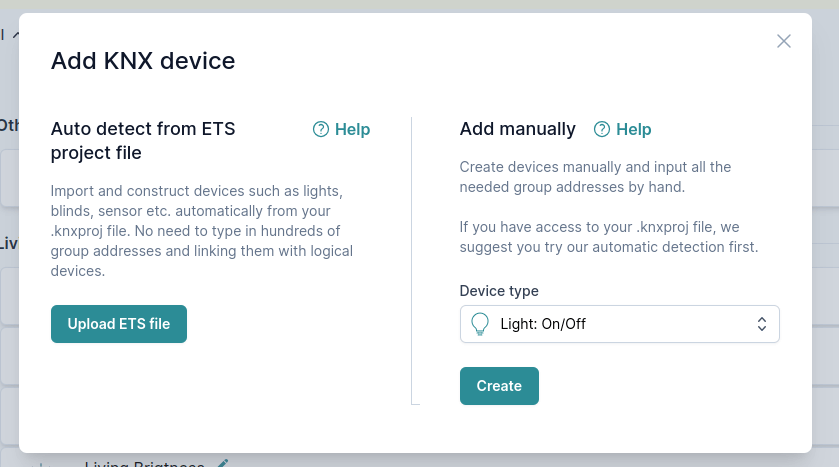
Adding devices
There are two ways in which you can add your KNX devices:
- Auto detect devices from your ETS project file
- Most of your devices will be automatically detected from your
.knxprojfile. You will also be able to change the detected devices after the import is finished.
- Most of your devices will be automatically detected from your
- Add KNX devices manually one by one
- If certain devices were not detected by ETS auto import, you can add them manually.
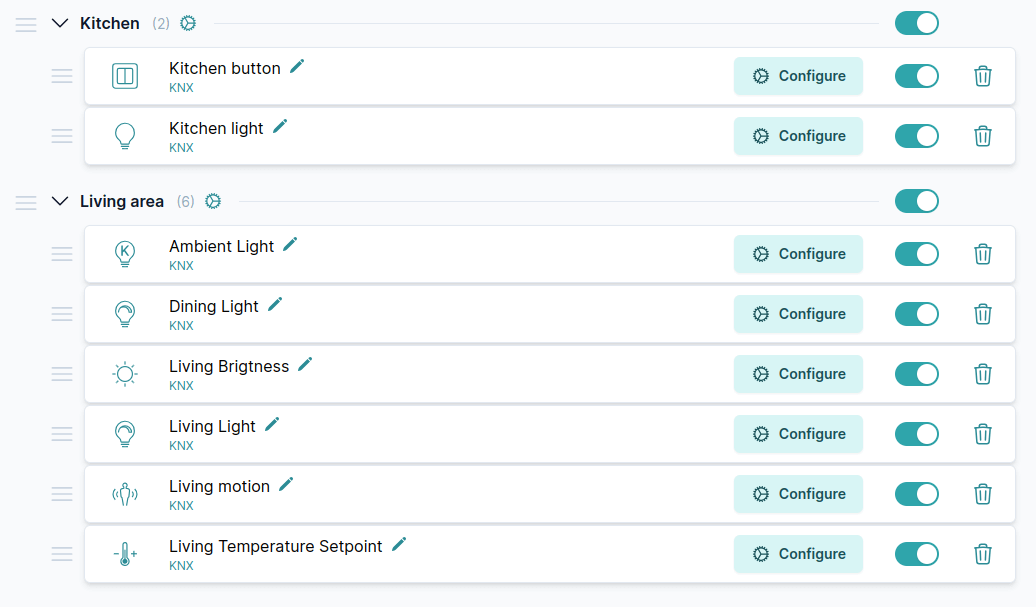
After adding your devices, you will see a list of added devices. If you won't use them, we suggest removing them from the dashboard entirely.
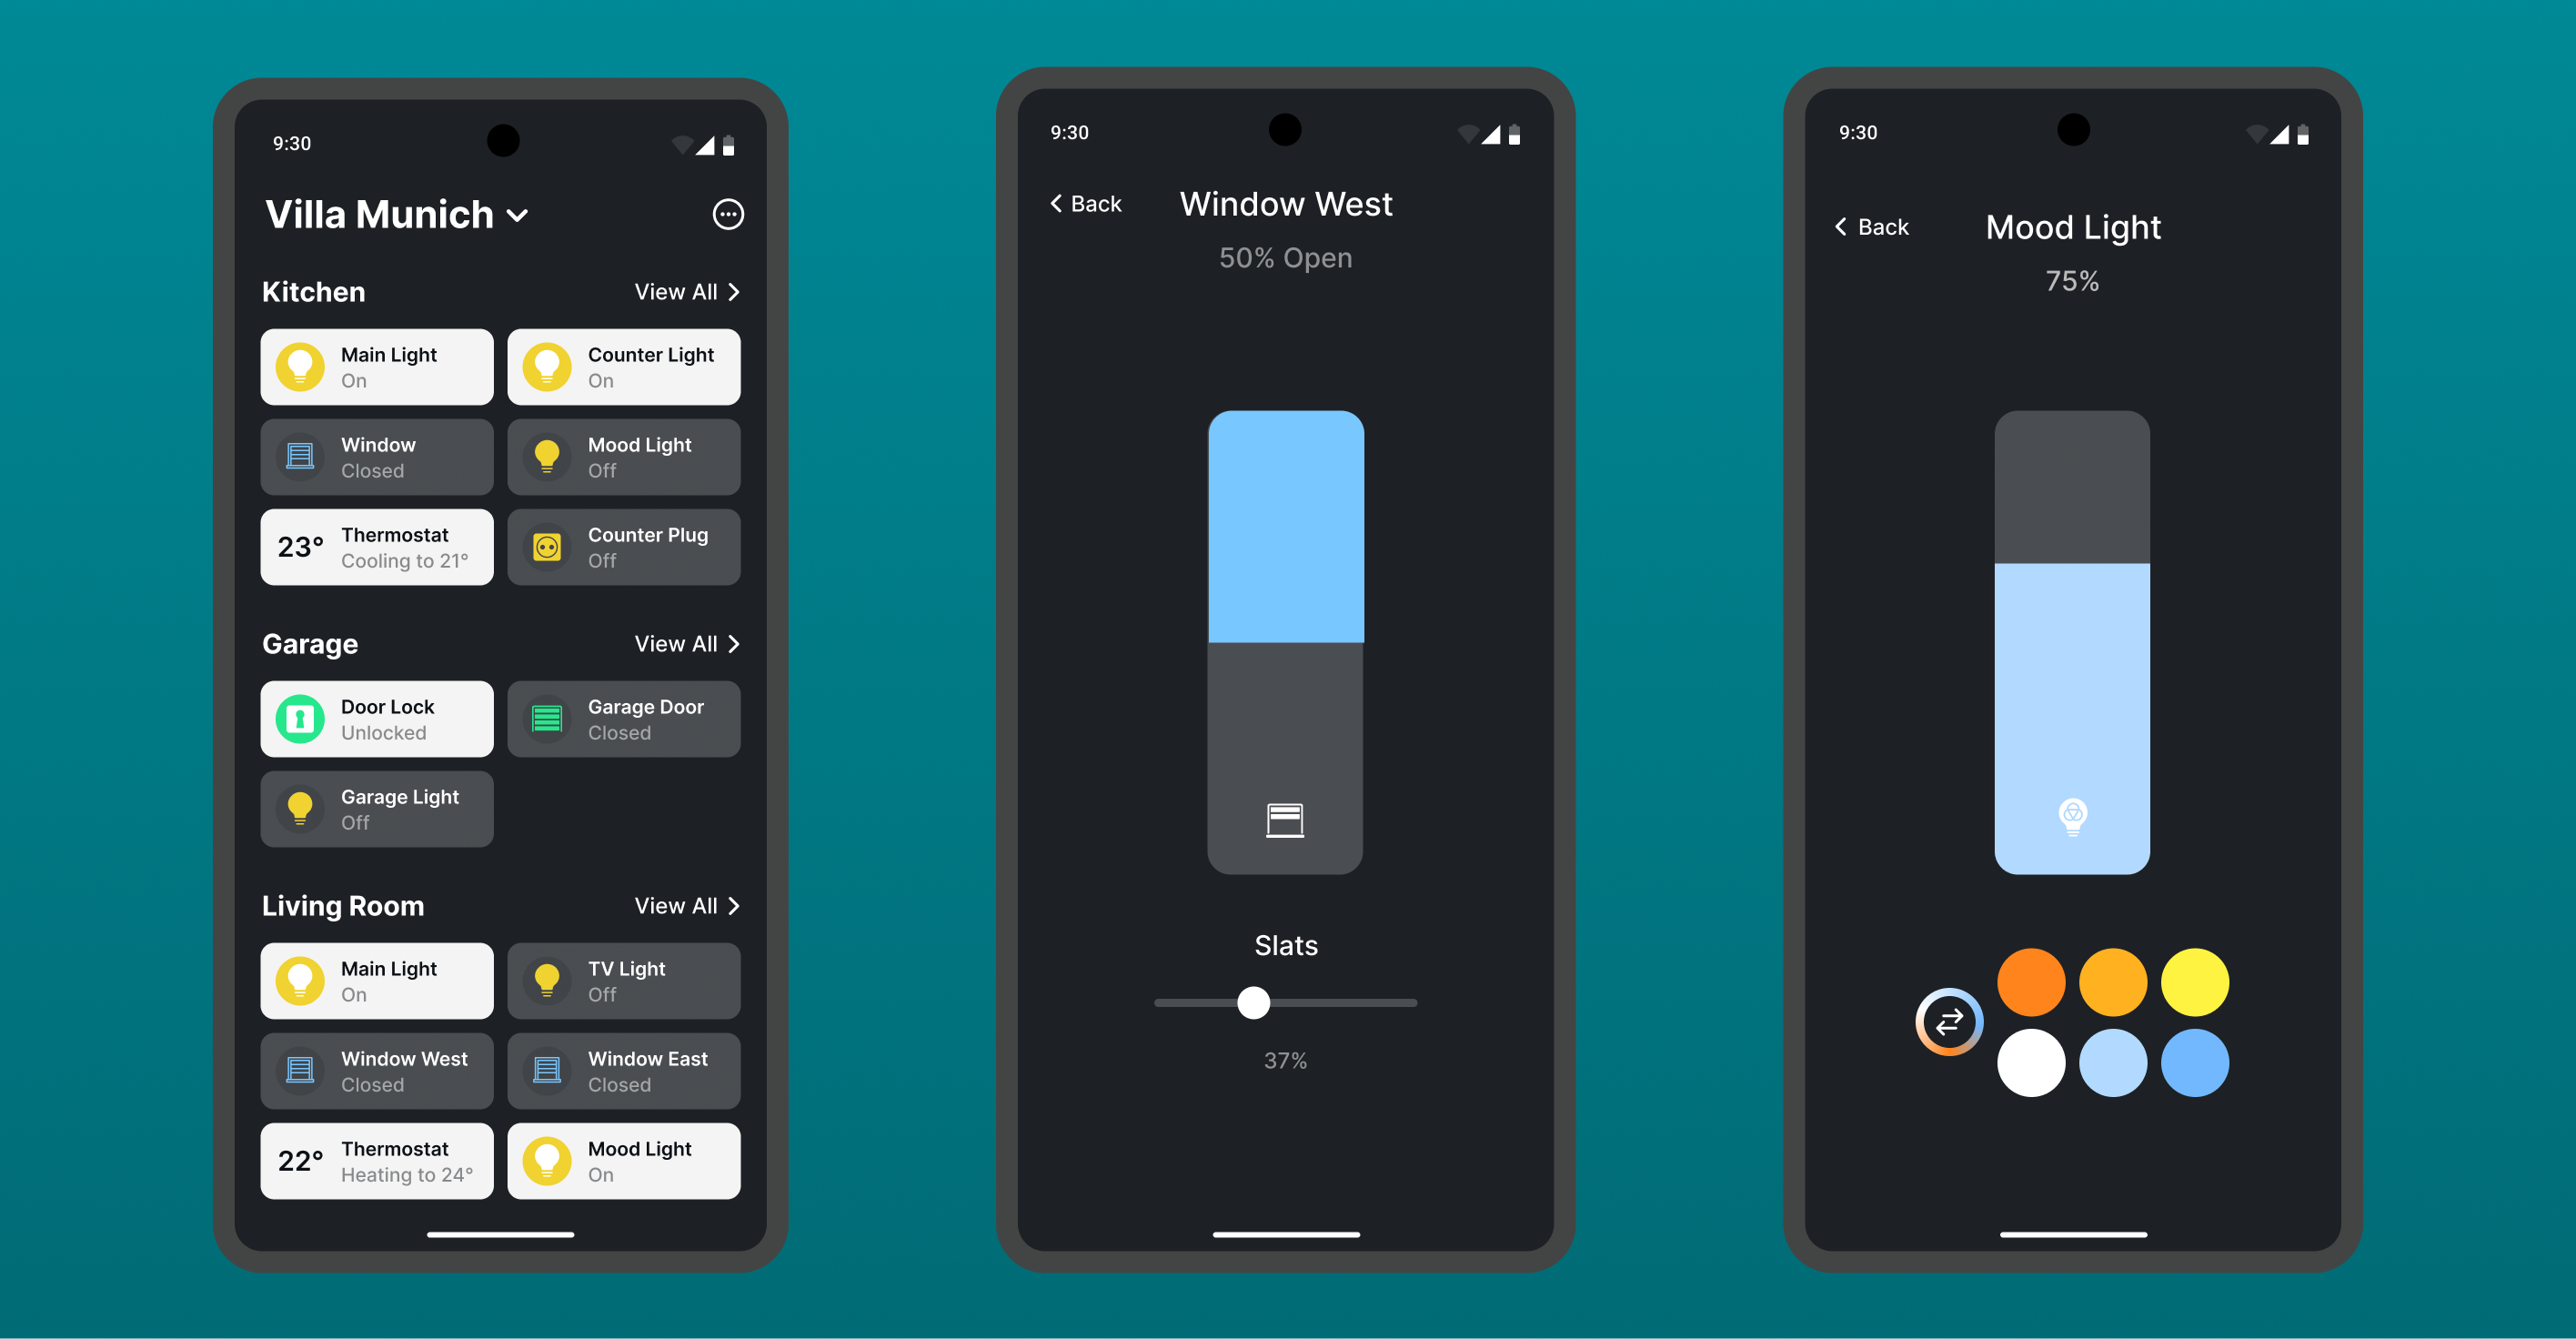
Using 1Home Server mobile app to test
Your 1Home Server comes with a mobile app that you can use to test the KNX configuration.
Connect to the 1Home Server with the 1Home Server App and test devices there.
If they work as expected, you can proceed to the next step and bring them into your Crestron Home system.
2. Load the 1Home driver in Crestron Home
Crestron Home system comes with a native driver for 1Home Server. By setting it up, you connect the 1Home Server to Crestron Home and all of the configured devices will be shown in the Crestron Home Setup tool.
Download documentation for Crestron Home driver for 1Home Server (PDF) and follow the guide to setup the Crestron Home driver.
If you have any troubles, refer to the last section in this guide about the troubleshooting the configuration.
3. Sort discovered KNX devices into Crestron Home rooms
If you have followed the previous step, you already have KNX devices in Crestron Home sorted into rooms. Your system is now ready to be used!
You can also use your KNX devices in Crestron Home scenes, schedules and actions.
Other tools to improve your workflow
Remotely program KNX with secure ETS remote programming
Access your KNX installation remotely and program it from anywhere in the world.
Follow the ETS remote programming guide.
Send time and date to KNX bus
You can send time and date to your KNX system with 1Home Automations.
Learn how you can use 1Home Automations. Then use the automation template for sending KNX time and date to KNX.
Use 1Home Automations to cover specific KNX requirements
Is there something you cannot do in ETS? Solve it using 1Home Automations.
From sunrise and sunset based automation, to listening, reading and writing KNX telegrams and much more.
Having troubles setting up?
First we have to figure out which part of the system is causing issues and then fix them accordingly.
- KNX or 1Home Server configuration:
- Run the Check configuration and confirm that there are no errors present.
- Connect to the 1Home Server with the 1Home Server App and test devices there. Do they work as expected?
- If you find any issues in the steps above, please make sure the KNX devices are setup correctly and check for any other KNX specific issues.
- If nothing helps, please contact our support at support@1home.io so we can assist.
- Crestron Home driver:
- In 1Home Server, go under
Integrations -> Crestron Home. At the bottom you see a text calledCurrent Callback URL:. If there is no valid URL pointing to your Crestron Home server written there, this means that there is no connection between the Crestron Home system and the 1Home Server. Follow the steps in the Crestron Home driver documentation for 1Home Server (PDF) to connect 1Home Server to your Crestron Home system. - If the KNX part works well (tested with the 1Home Server App) and the
Current Callback URLis not empty, then the issue lies in the Crestron Home driver for the 1Home Server. Please contactdriversupport[at]tig.eufor support.
- In 1Home Server, go under